
Arlo Camera Setup
Having access to an Arlo camera is the best way to record videos with up to 4K video resolution. Along with this, you can get alerts that identify people, animals, and vehicles. At last, one can reduce alerts so that you get only those alerts that have weight.
In order to take advantage of these features, it is recommended that you learn how to do Arlo setup. Now, you might be worried about the execution of the process, right? Well, go through the Arlo setup instructions given here and learn how the same can be done.
How to Do Arlo Camera Setup via SmartHub or Base Station?
For your information, specifically, Arlo Ultra models as well as Pro 3 can be installed with the aid of the Base Station. Thus, ensure that you have one of these models.
1. Download the Arlo Secure App
Go to the Google Play Store in case you are using an Android and tap on the search bar. Input Arlo Secure app there hit the Search icon. Soon some results will come into view. Select the app named Secure from the results that just appeared on the screen. Tap the Download button and let the installation process finish. As soon as it comes to an end, open the application on the device in use.
Ensure that you do not power down the mobile device while the application is getting downloaded on your mobile device. Apart from this, do not perform power-consuming tasks in the background like playing online games. The reason being, the installation process will get interrupted and you will not be able to complete Arlo setup.
2. Tap the Add New Device Option
Go to the bottom of the screen and select the Add New Device button. Once done, the screen will shift again. Thereafter, tap the Cameras option. Whether you are using Ultra, Essential, or Pro, select the type as well as the model of your camera. Done with this as well? Good. Now, select Arlo Base Station.

In case the base station is not installed, then it is recommended that you tape the Add New SmartHub button. After this, you need to connect the Ethernet cable to the SmartHub and select the Continue button. When you are done, plug the adapter into the wall socket. It is suggested that you ensure the lights on the Arlo SmartHub. At last, hit Continue.
3. Follow the On-Screen Guidelines
The next setup in the Arlo setup guide is for you to insert the battery into the camera. When you have inserted it, select the Continue button. Soon Arlo will start searching for your camera. Now you need to name your camera. You can do this later as well via Arlo login. Next, position the camera as per the guidelines given in the product manual and tap Continue. Select the Finish button in order to complete the Arlo camera setup process.
Keep one thing in mind during the camera placement: Make sure that the camera is kept within 3 feet of the base station during the Arlo camera setup process. Along with this, do not keep the camera near devices that can cause WiFi interference. Some examples include cordless phones, microwave ovens, treadmills, televisions, baby monitors, and much more.
How to Setup Arlo Pro 4 and Arlo Essential Cameras?
- Download the Arlo application exactly in the same manner as you did above.
- Select Add New Device > Cameras.
- Once done, tap the Pro or Essential button and select the model of the camera.
- Tap Continue after selecting the Connect with SmartHub option.
- Before proceeding with Arlo setup instructions, ensure you have WiFi access.
- Go back to the Arlo application and hit Next.
- Enter the password as well as the network name.
For Arlo Essential Cameras:
- Press the Sync button on the camera.
- Hold it for only about two seconds, not more than that.
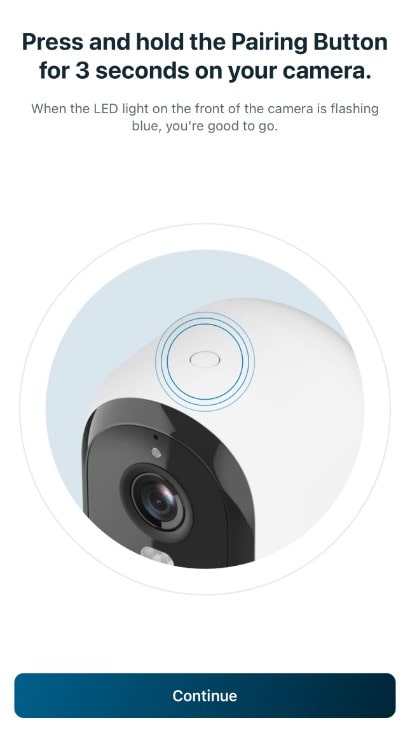
For Arlo Pro 4 Cameras:
- Connect the battery to the camera and let the LED turn blue.
- Press the Sync button and again hold for the light to become solid.
- To proceed with the Arlo camera setup process, scan the QR code.
- As soon as you hear a chime, select the Continue button to proceed further.
- Once Arlo is done looking for the Arlo camera you own, name it and hit Next.
- The next step is to place the Arlo camera at the correct location.
- At last, we will suggest you to tap Finish and end this Arlo setup guide.